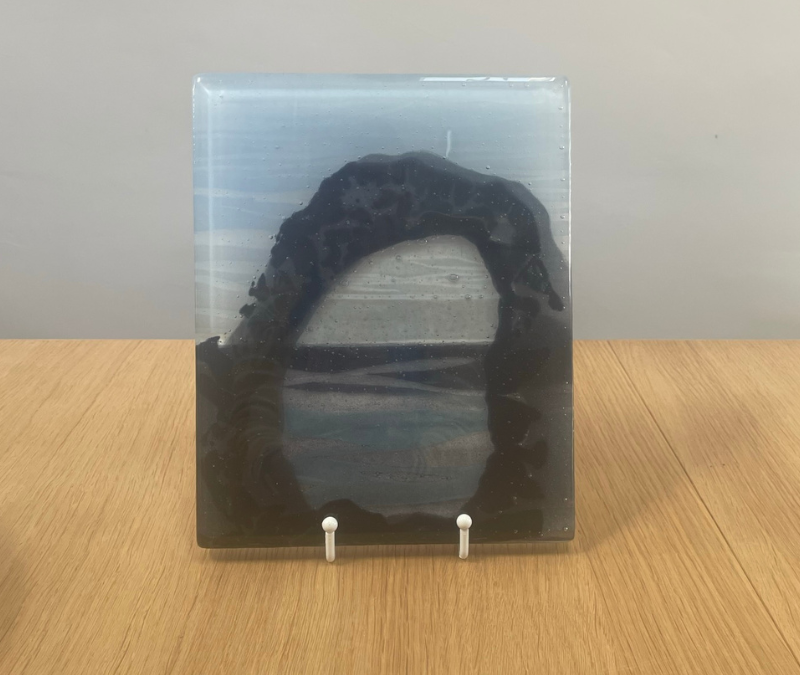
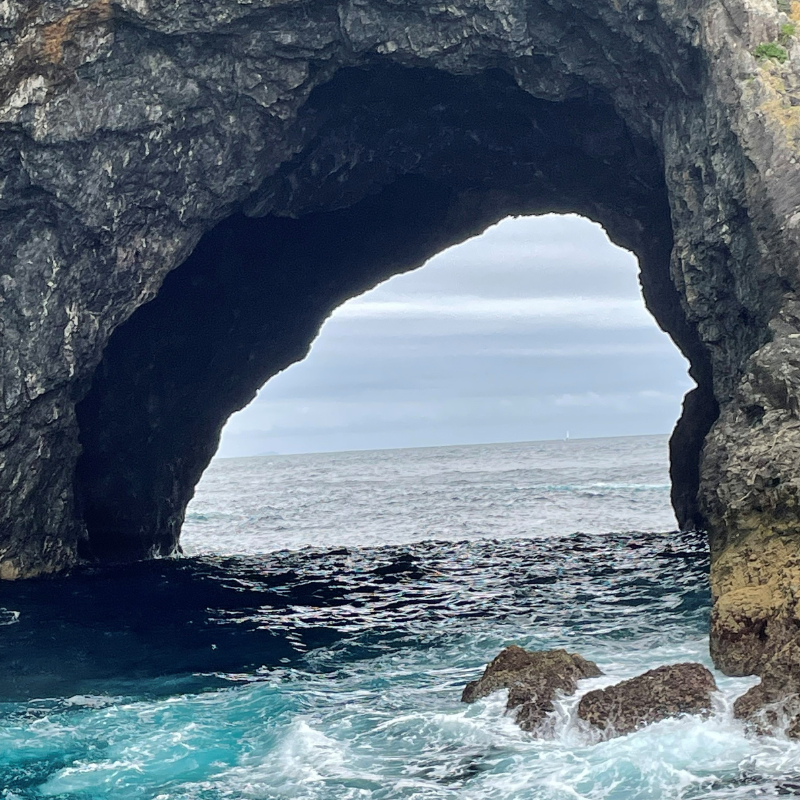
As you will remember if you’ve read my last blog, I was busy trying to create a piece of glass inspired by this picture. As previously mentioned, I had participated in an online glass course, that explored the process of screen-printing in powdered glass..
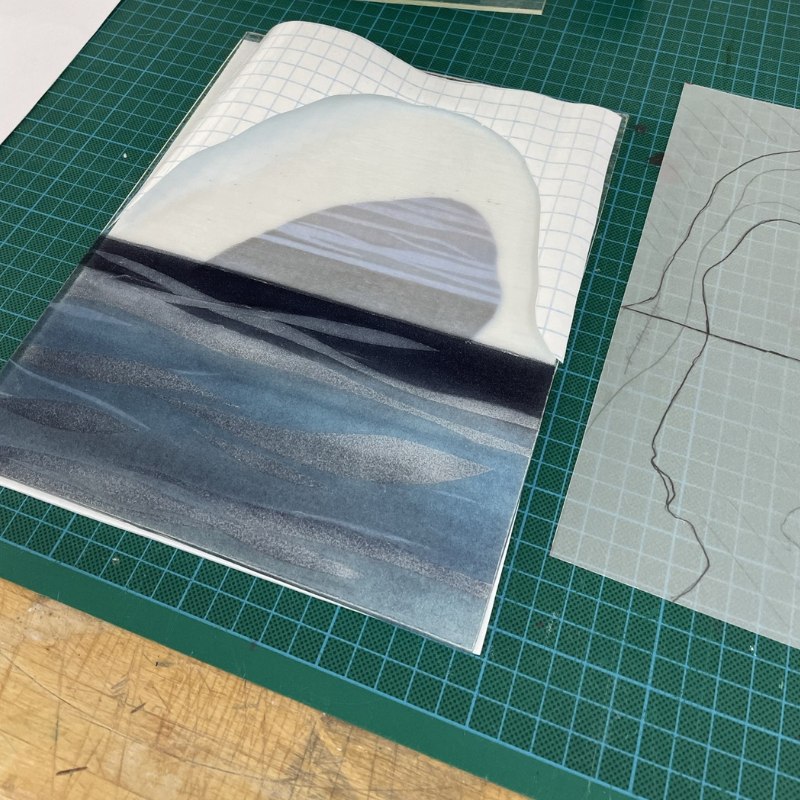
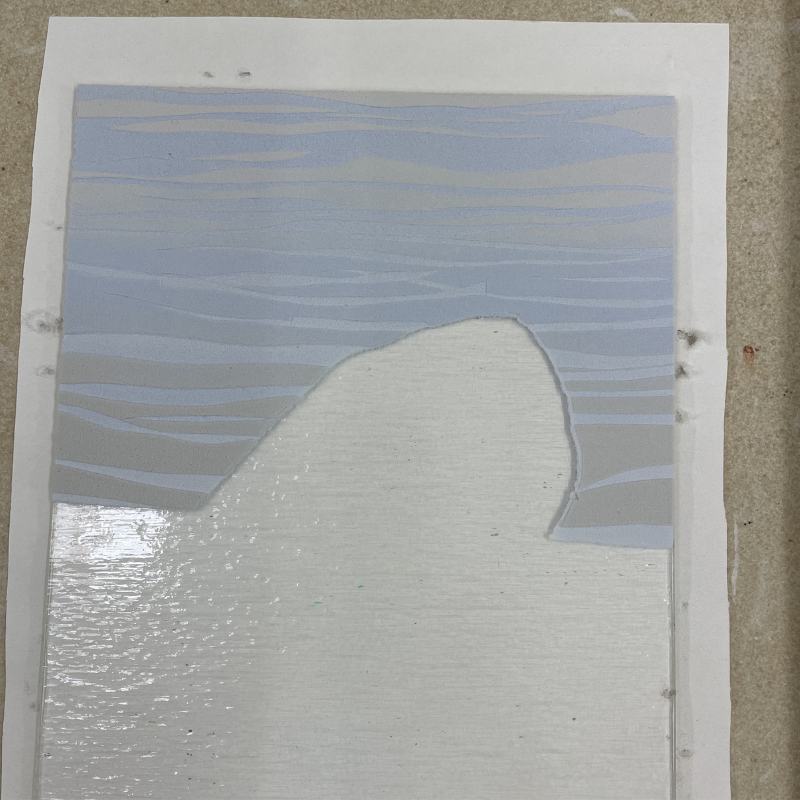
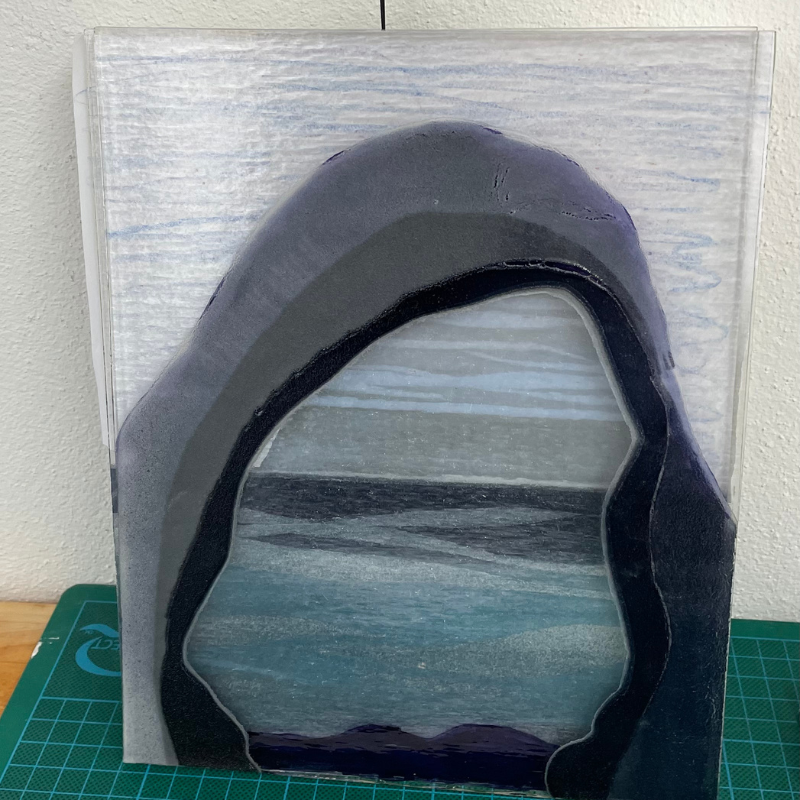
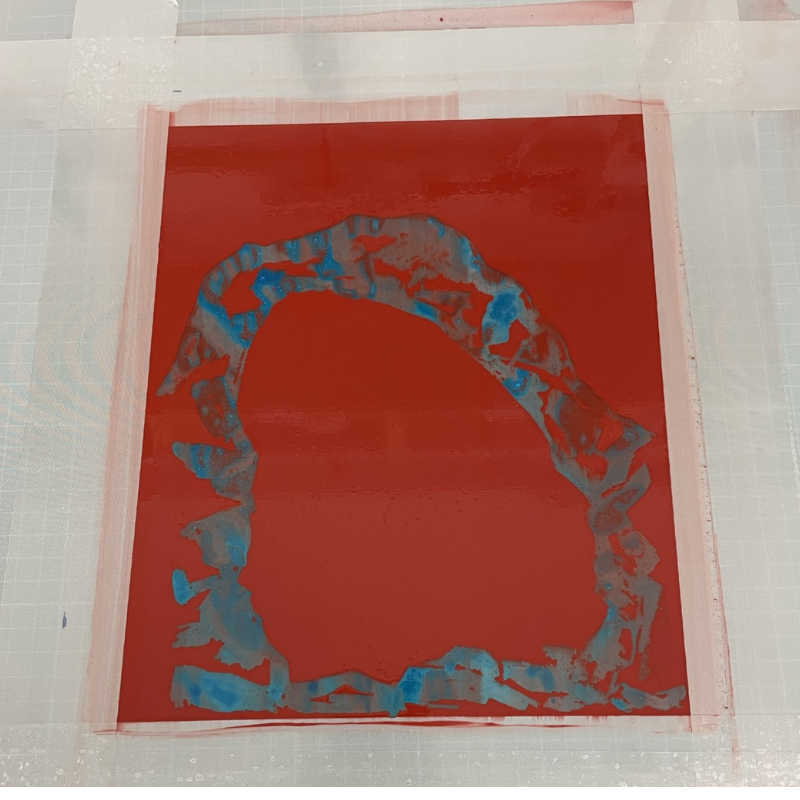

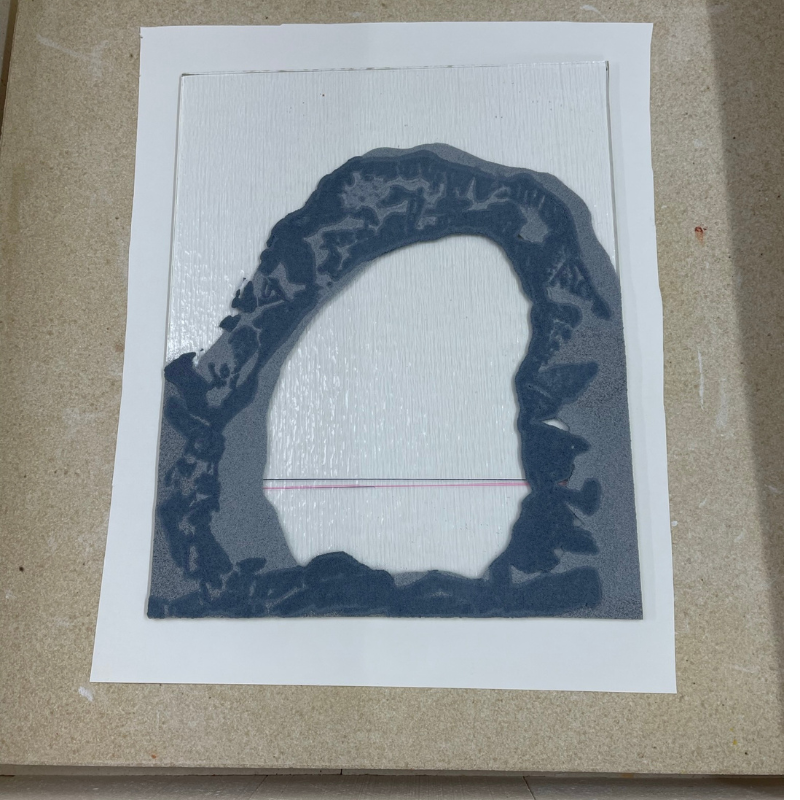
Each piece was carefully cleaned and stacked in the correct order. To help minimise bubbles, which are always an issue when firing multiple layers, small pieces of clear glass were placed between the layers. Finally, two layers of clear glass were used to cap the piece. The piece required careful damming to prevent the glass from flowing out once it reached a liquid state within the kiln.
Finally, there was nothing more I could do but to programme the kiln and hope all my hard work had paid off. The kiln took over 24 hours to fire and cool, the wait to see the result seemed like forever! On initial inspection it appeared that the kiln paper had collapsed onto surface, potentially spoiling the whole thing but fortunately once removed from the kiln and cleaned my fears proved unfounded, it was perfect!
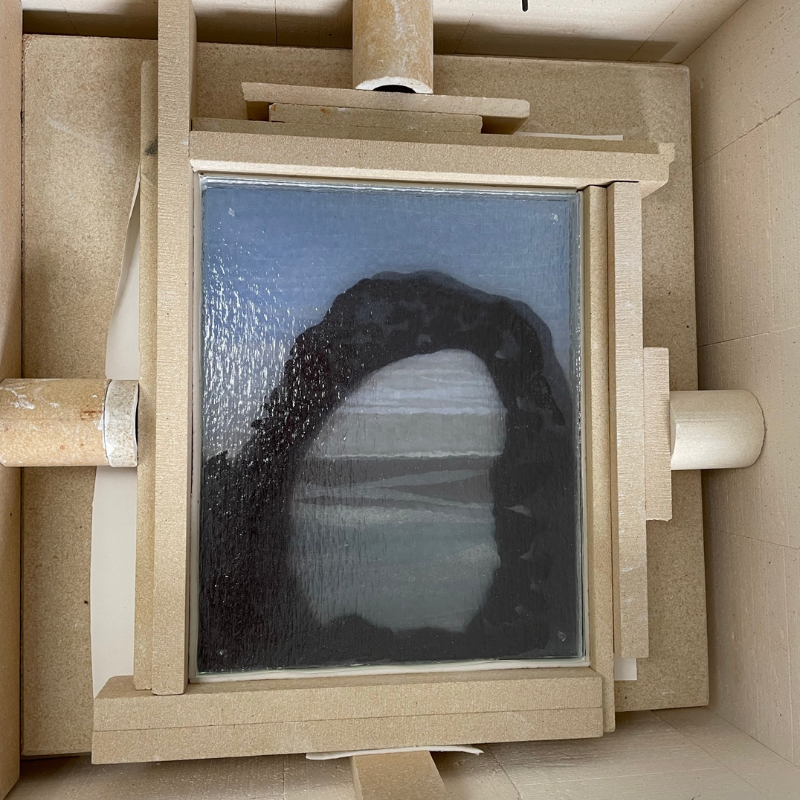
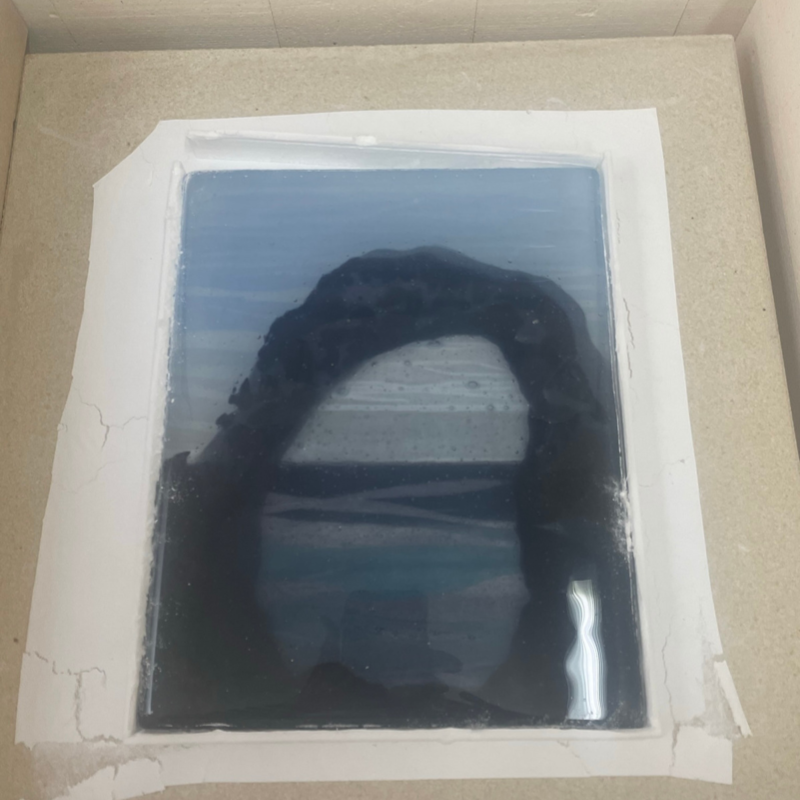
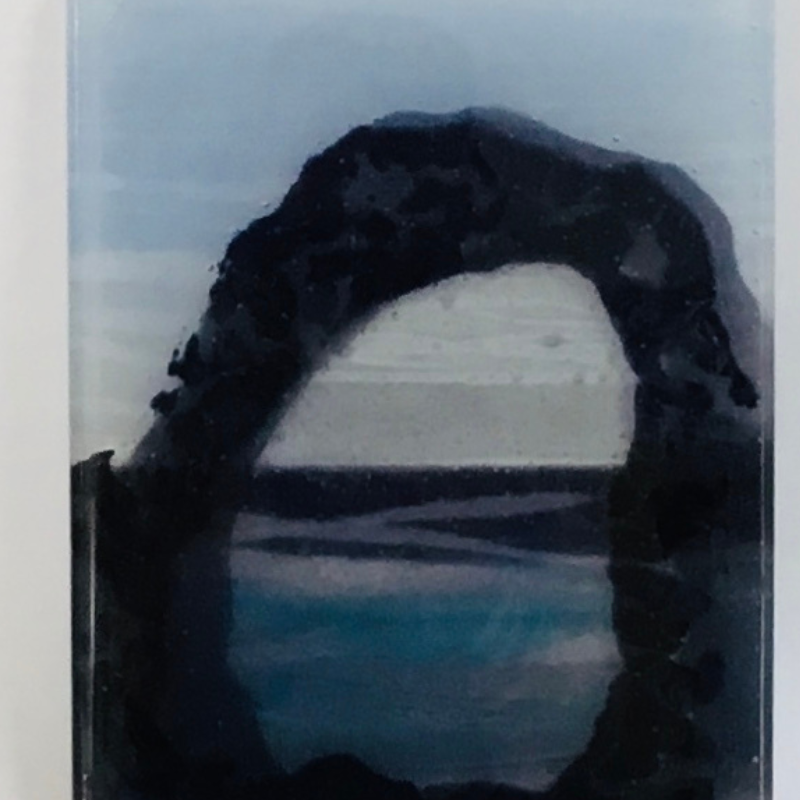
This entire project has been tremendous fun. It has challenged my abilities and I have learnt such a lot along the way. My imagination is fired up with other ideas that I can see would lend themselves to this technique and I look forward to experimenting and taking screen-printing with powders further – watch this space!
There is an amazing postscript to this blog. Yesterday I placed the finished piece in my studio and within the hour a delightful lady came into see what I was up to and bought “The Hole in The Rock”- this was certainly my quickest sale ever, and certainly the most enjoyable! To make things even more special she told me she was buying it memory of her father who had recently passed away – I feel privileged to have a piece of my work purchased for such a personal reason.

