Do you sometimes ask yourself where time has gone? I have found myself pondering just this since the start of this year. In early January, I was lucky enough to be able to go of on a trip of a lifetime to Singapore, Australia and New Zealand. The trip spanned just over five wonderful weeks and was jammed packed with adventures and wonderful experiences, ranging from trying my hand at scuba diving to indoor sky diving! The scuba diving was far less successful than the sky diving, as I lost my nerve and had a massive panic attack – not to be recommended when you are about 12 feet below the surface.
Snorkelling, however, turned out to be a joyous experience and one I will never forget. As I gazed at the array of fish beneath me and their wonderful colours, I was utterly mesmerised by the beauty that surrounded me.
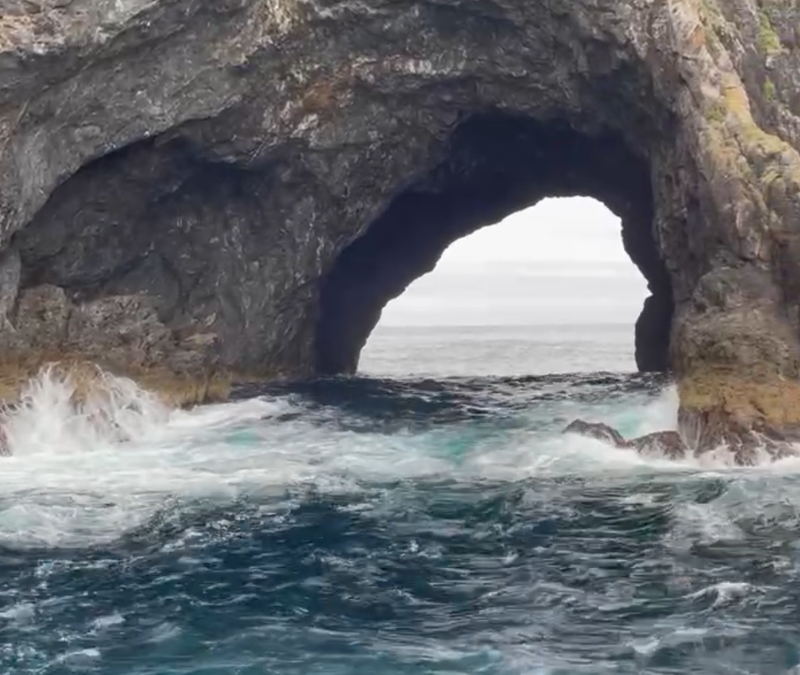
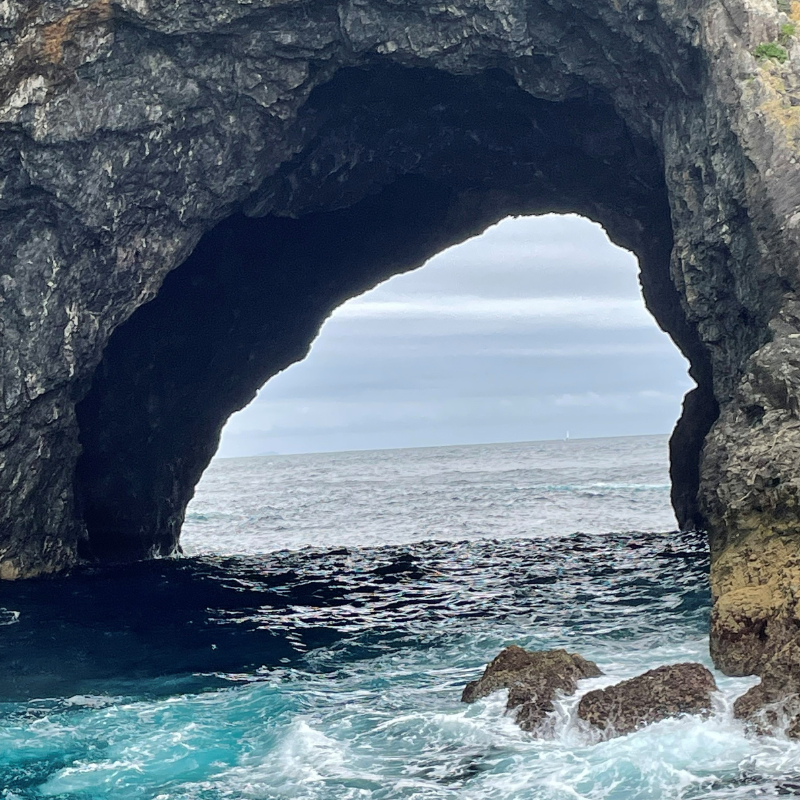
Throughout the trip my camera was never far away, ready to catch whatever caught my eye. One such moment was when we went to see “The Hole in The Rock”, which as the name suggests was just that. The sea was wild and rough but as we lurched up and down, I captured this image which filled me with inspiration, but how would I use it within my glass work?
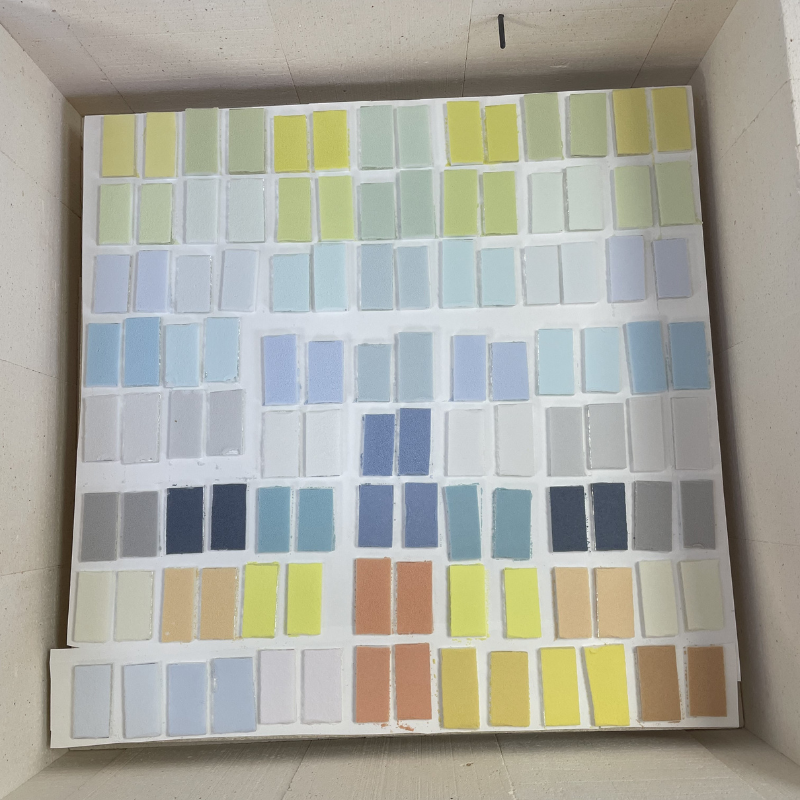
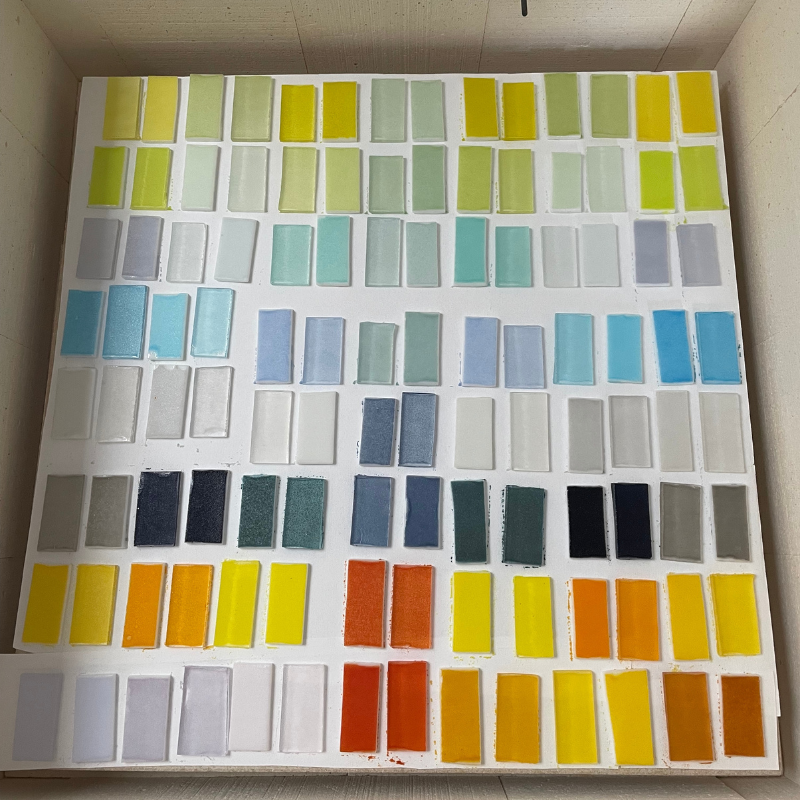
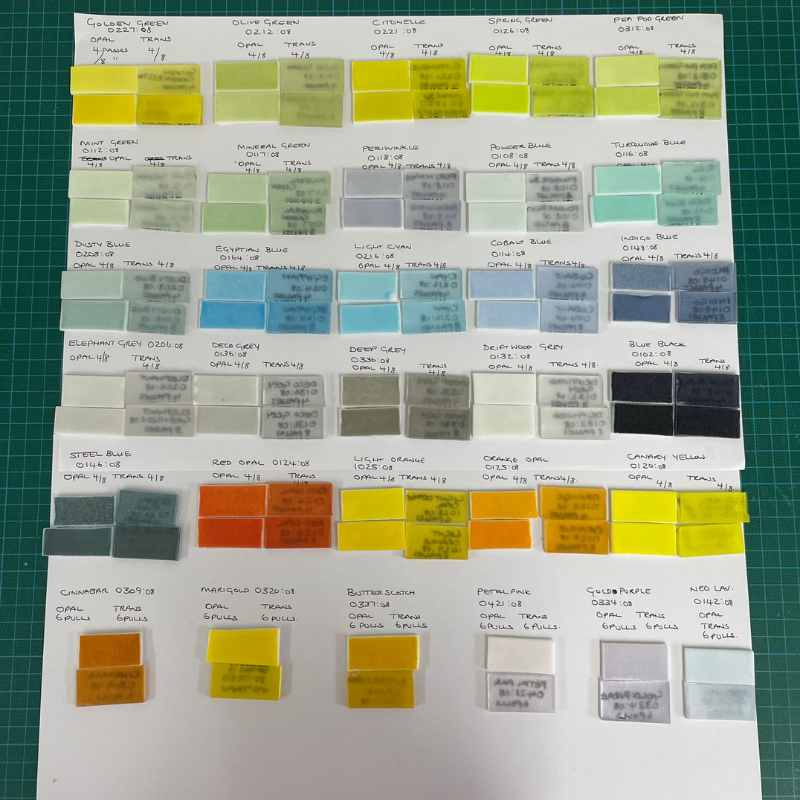
Whilst I was away, I signed up for an online course to learn the art of screen printing glass powders. I have screen printed with inks but never glass and the idea of this really intrigued me. Once back in the UK, I waited eagerly for the course to commence and wasn’t disappointed. As with all good studio practice, test tiles were required to establish density of colour and how heat work would affect them. Below are images of the tiles before and after firing, plus the cataloguing – a tedious but necessary process.
The project that was set for the screen-printing course was to create a piece that would have four layers of print and eventually be 6 layers of 3mm glass. Finally, I had my answer to how I was going to use the image I had taken on holiday. The sketch book was called into action and so the process of design began.
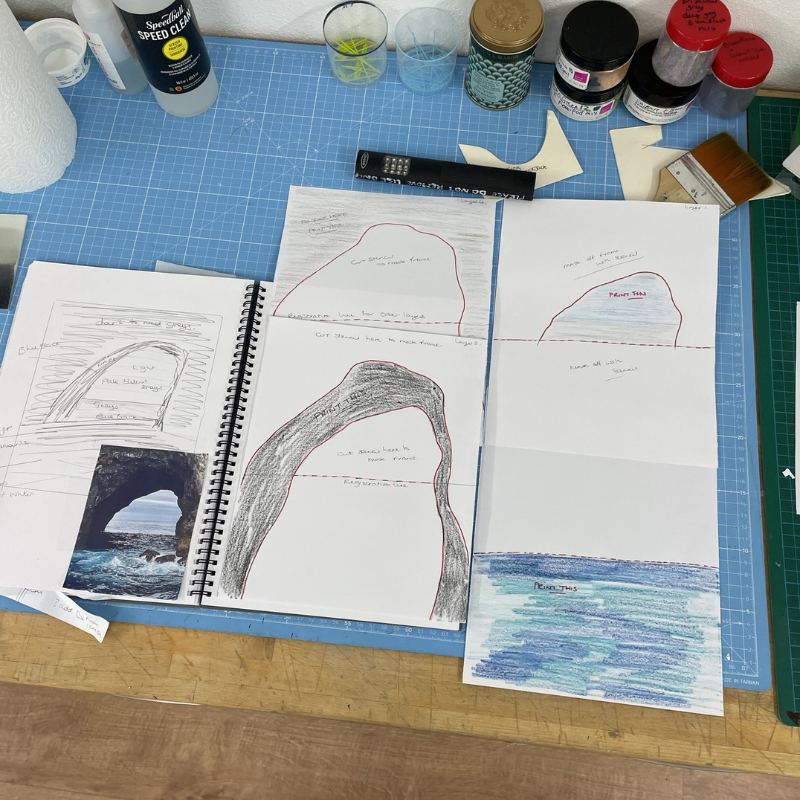
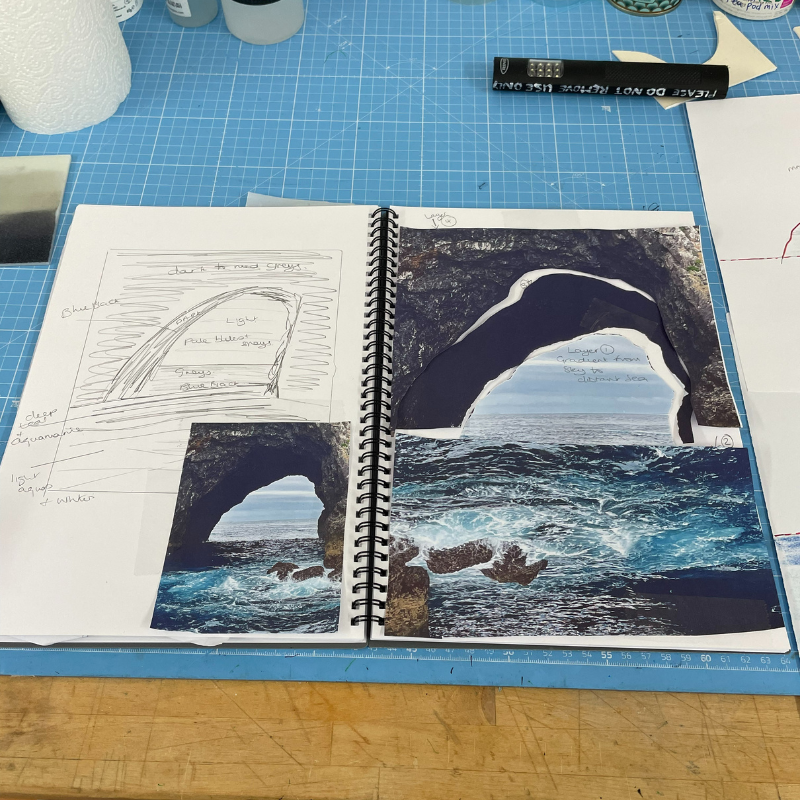
Once I had my initial sketches done, I worked with paper cut outs to try and visualise the layers as they would appear in the finished piece, which was easier said than done. Once happy, I set about producing a stencil for the first layer. This was created by using sticky backed plastic and decorators tape – Blue Peter eat your heart out!
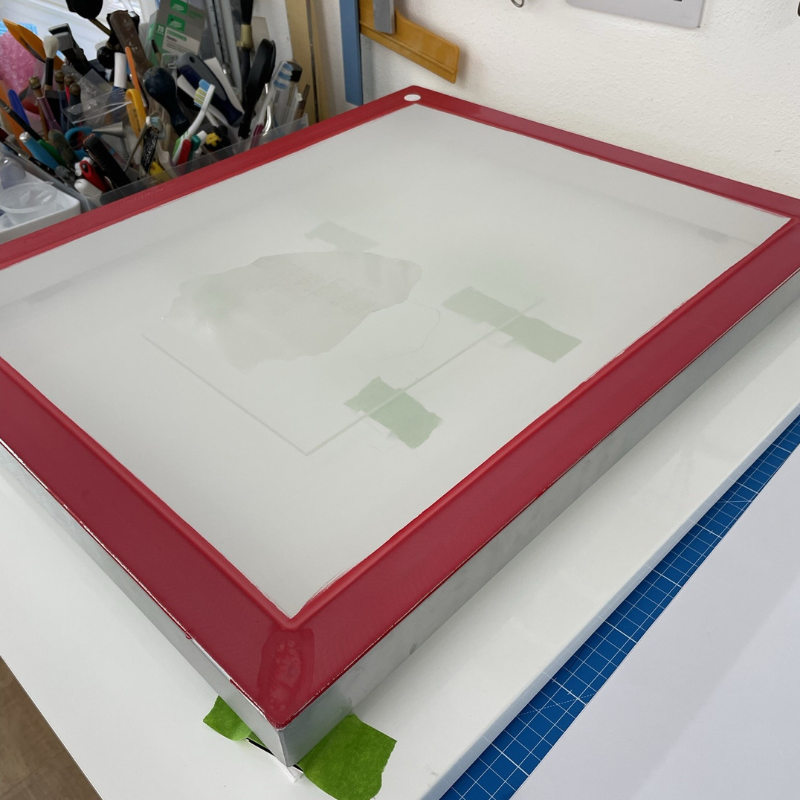
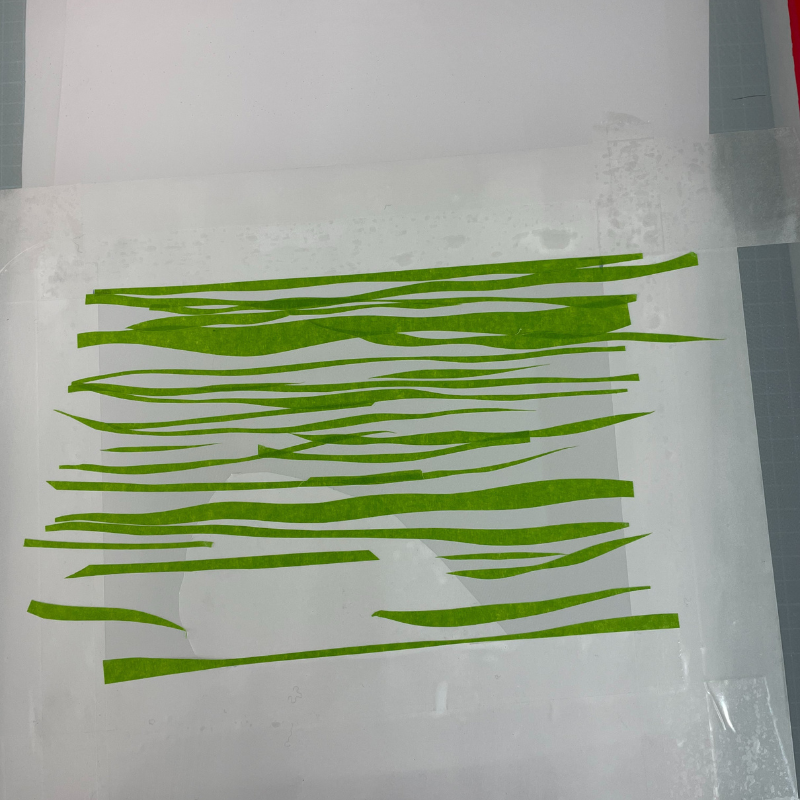
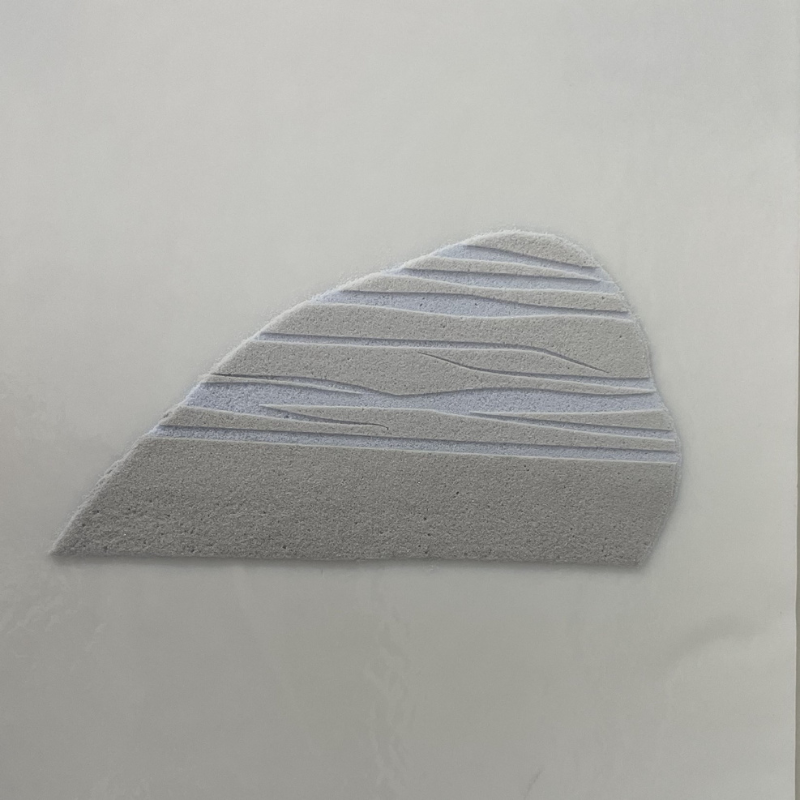
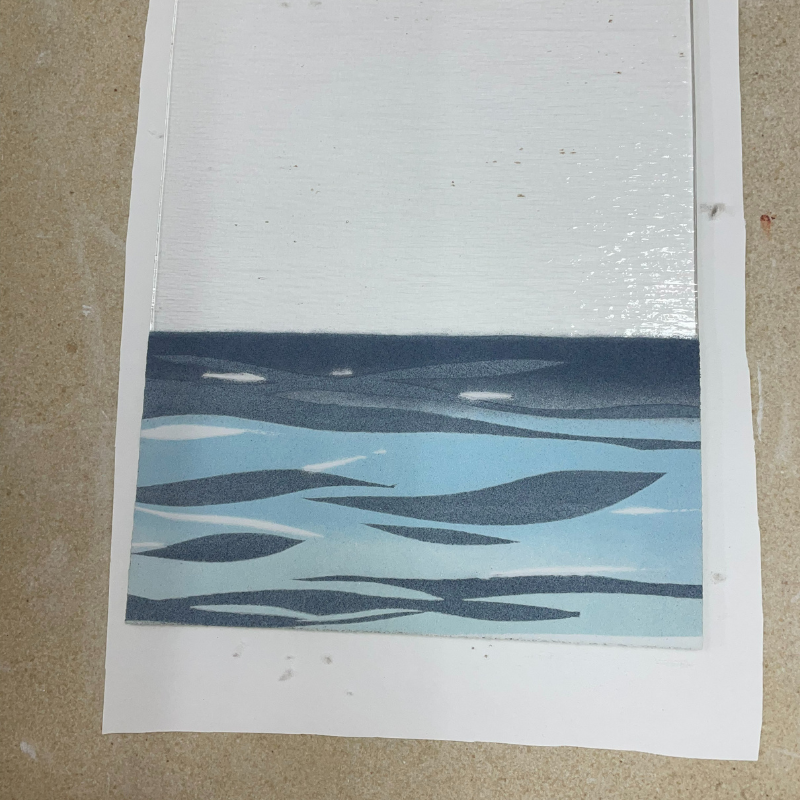
The first two layers were completed with relative ease and the results were good, however the third layer proved more problematic, so it was back to the drawing board. To find out what happened next, click here.

